|
by Taryn, Anderson-Foothill Teen Squad      Sources & Further Reading
Baer, Drake. “'Expressive Writing' Is A Super Easy Way To Become Way Happier.” Business Insider, Business Insider, 23 May 2014, www.businessinsider.com/the-positive-effects-of-journaling-and-expressive-writing-2014-5. Barth, F. Diane, and Psychotherapist. “Journaling Isn't Just Good for Mental Health. It Might Also Help Your Physical Health.” NBCNews.com, NBCUniversal News Group, 14 Feb. 2020, www.nbcnews.com/think/opinion/journaling-isn-t-just-good-mental-health-it-might-also-ncna1114571. Phelan, Hayley. “What's All This About Journaling?” The New York Times, The New York Times, 25 Oct. 2018, www.nytimes.com/2018/10/25/style/journaling-benefits.html.
0 Comments
by Becca, Main Library  June is LGBTQIA+ Pride Month and we’re here to help you celebrate. In this blog post we’ll walk you through a super simple DIY Mini Pride Garland that you can use to decorate your bedroom! But first, here are some other activities to check out this month:
Today, let’s make a DIY Mini Pride Garland. For this craft you will need colored paper, twine, scissors, and a glue stick. If you don’t have colored paper or twine, you can pick up supplies for this craft at any City Library location starting June 1, while supplies last. The colors we’ve included in this DIY Pride Garland are the same colors you’ll find in the Progress Pride Flag. 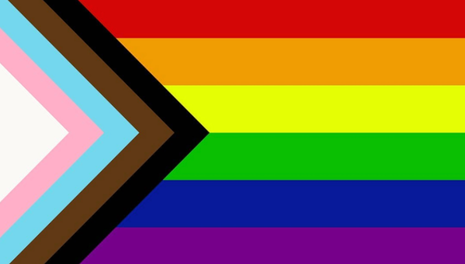
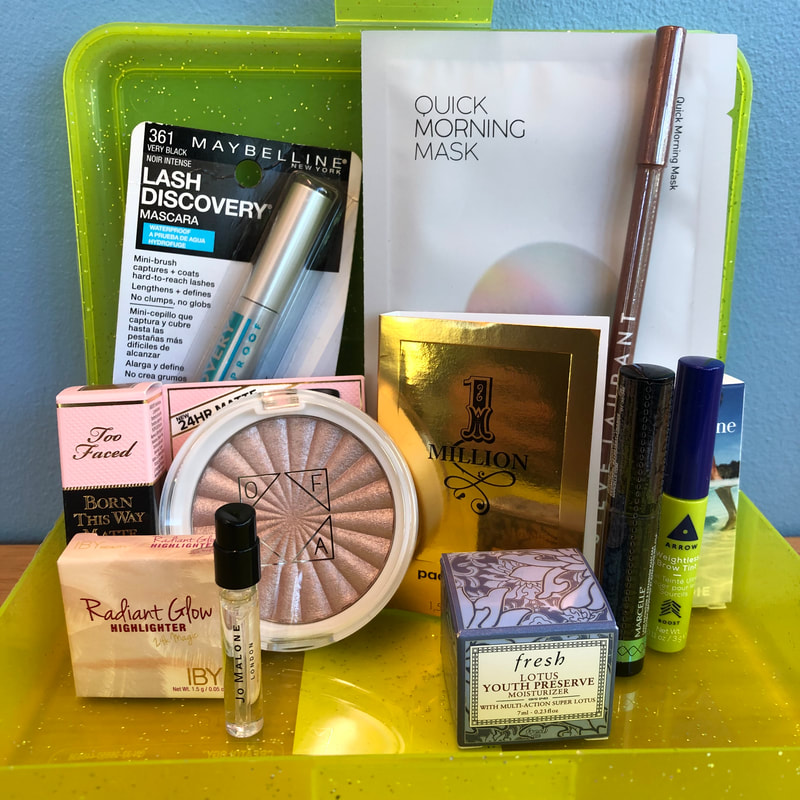
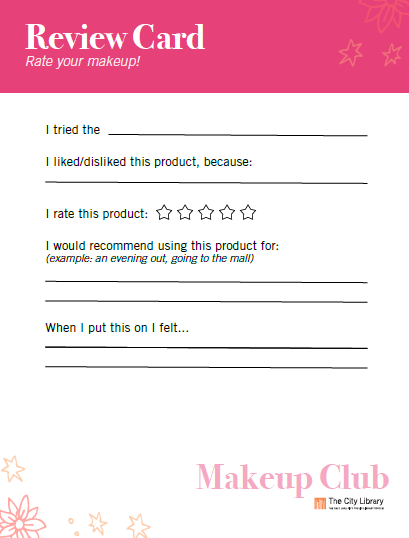
Now let’s get started! First, you will lay out your twine on a table or on the floor. 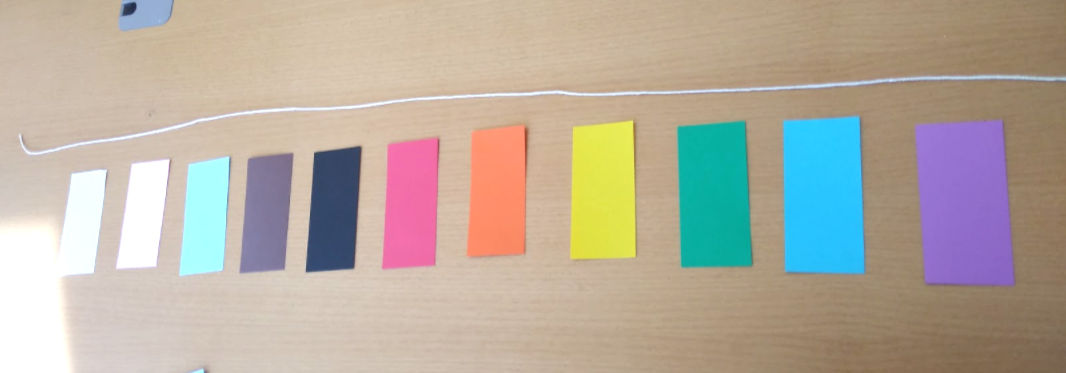 Next, fold all of your papers in half. 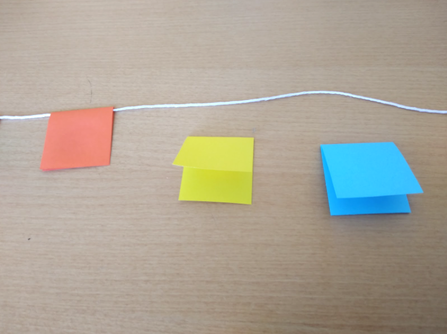 Place your folded papers on the twine. 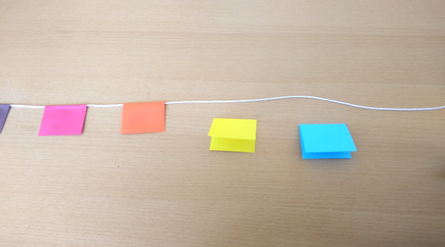 Glue the paper strips together. You can also glue the paper to the twine if you don’t want them to move around. 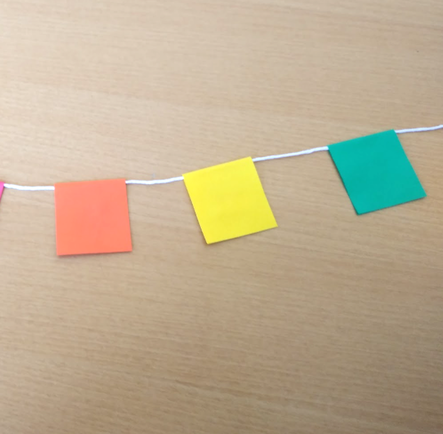 Cut the bottom of the paper however you like. You can cut them as shown in the picture, in triangles, or any other creative way you want! 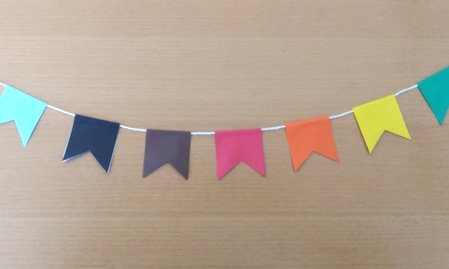 You’re done! Find a place to hang your garland. You can tie, tape, or pin them almost anywhere! 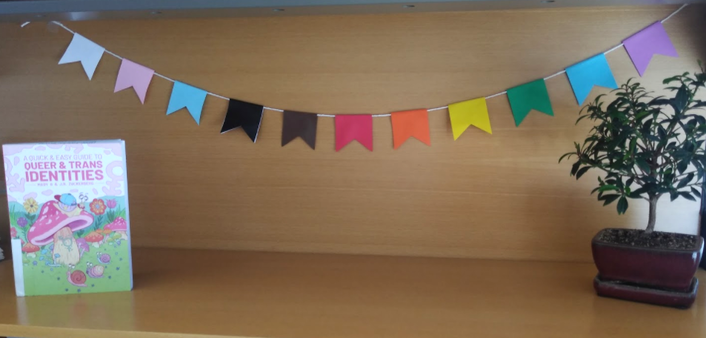 Happy Pride Month! by Lexi, Day-Riverside Branch  Have you been getting curious about Makeup? Want to test some out without committing to a purchase? Well, starting June 1st, the Salt Lake City Public Library will be running a Makeup Club*! The club is open to all teens who are interested in Makeup. Come to any branch of the Library and ask staff for a makeup sample! We will have ready a box of fabulous makeup available for teens to pick a piece to try out and review, full of mascara, eyeshadow, lipstick, the works! We will keep the boxes stocked through makeup subscriptions so, once you’ve reviewed an item, feel free to come try another! We’d love to hear your thoughts!
Beginning in June, there will be a monthly Makeup Club meeting! Attending the club is not mandatory for makeup samplers, but on the third Thursday of each month, from 5:00-6:00 pm Makeup club will meet to discuss what they’ve tried and reviewed, show off their techniques and learn more about the unique world of makeup. Join us digitally, on June 17th, to flaunt your makeup looks and learn about the chemistry behind makeup from the expert Victoria Russell! Victoria Russell works for the Center for Synthetic Organic Electrochemistry and will be teaching us about what goes into make-up! *Please note: The Library events calendar shows that the Main library will not be handing out samples. This is incorrect. You can pick up makeup at any City Library location.  by Christine, Chapman Branch  This time of year at my house is gardening season. We plant vegetables and flowers that we hope will attract bees to our plants. Recently I learned that in addition to bee friendly flowers and plants, it is important to include a source of water. Why? Sources of water can be tricky for bees. If it’s a natural source of water birds and other animals can easily prey on them, and other sources of water can be tricky because bees don’t easily swim and can drown. Happily, there is a solution to this! A bee watering station! It helps your garden, and your garden’s natural pollinators. Especially these days when we hear talk of bee colonies on the decline. Bee watering stations are inexpensive and easy to make with items you already have around your house. You Will Need:
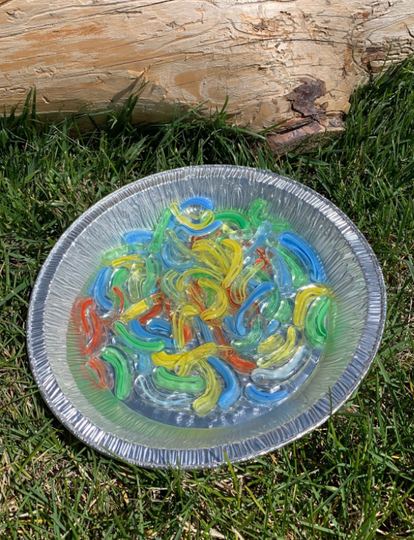
 Place the rocks or marbles inside the dish. I used a pie tin I had around the house. We don’t have many rocks around the yard, so I used some old decorative glass for vases I found around the house and used those. 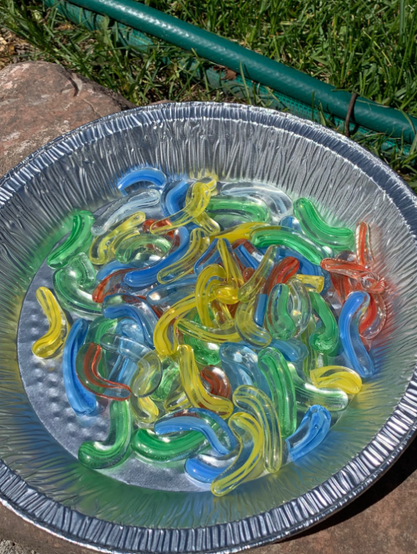 Next, pour some water into the tin. The most important thing here is to make sure the water level can’t get high enough over the rocks or marbles that the bees can drown. The purpose of the rocks is to provide more surface for the bees to stand on and get a drink of water. So make sure some of those rocks are not covered by water. 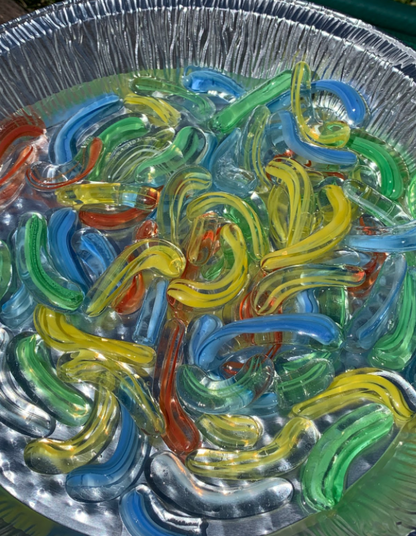 And then find a nice spot in your garden for your bee watering station to live! Tips:
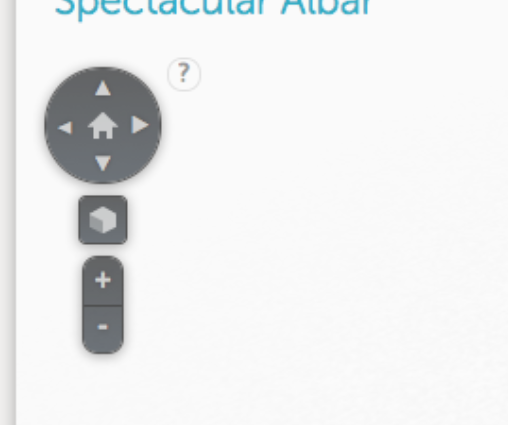
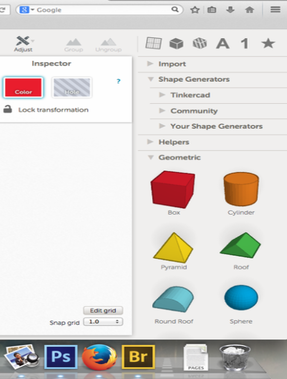
 by Cody, Main Library  The 3D printers are back up and running at the library. We just need your designs! Here I’ll show you how to design your own 3D models using Tinkercad and submit them to be printed at the library. Step 1: Create your account! Tinkercad is a simple, intuitive, and FREE website available to easily design models for 3D printing. The first thing you will want to do on Tinkercad is create a user account. This will allow you to save your designs within your personal account. You will need to provide some basic information, and be sure to choose a password that you can easily remember. 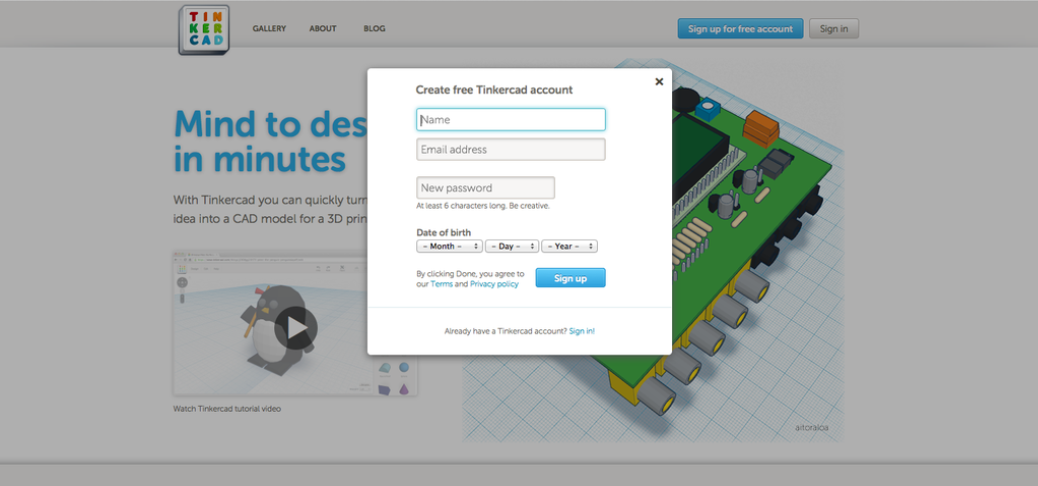 Step 2: Explore your workspace This is your main design space. Here is where you will be creating the majority of your work on Tinkercad. The blue gridded area represents the build plate that is used by 3D printers. You will want to create your work on this plate. 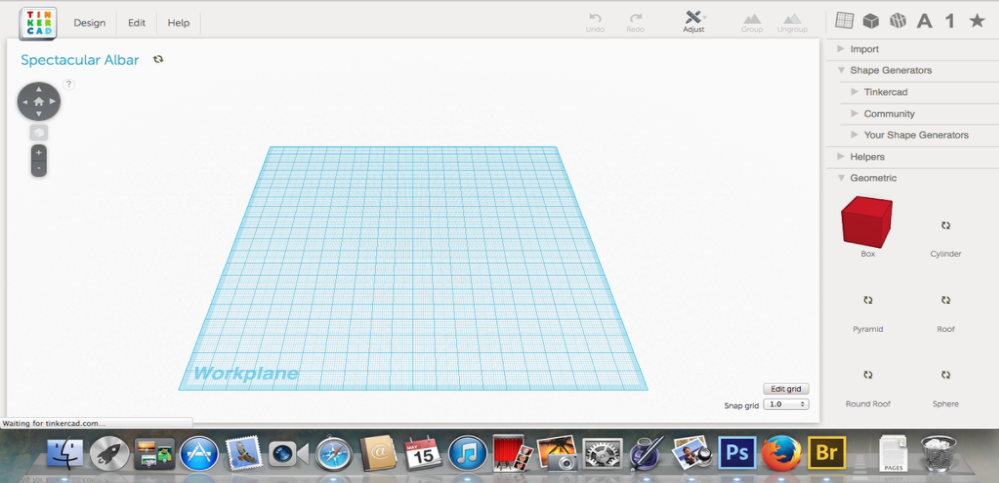 Step 3: Tools Tinkercad comes equipped with many tools to assist you in your modeling. On the right side you will find a collection of basic shapes and components, in addition to, free models and generators. At the top left of your screen, you should find this set of arrows. The arrows allow you to change your view of the plate. You can view your workspace from a variety of different angles by simply clicking the arrows.
Step 4: Create a shape First, let's start by picking one of the basic shapes from the geometric drop-down menu. Simply click and drag your chosen shape to the build plate, and Tinkercad will automatically set the shape to sit atop the plate. To increase or decrease the size of your shape, simply click and drag the corner markings (small white squares) on the image. 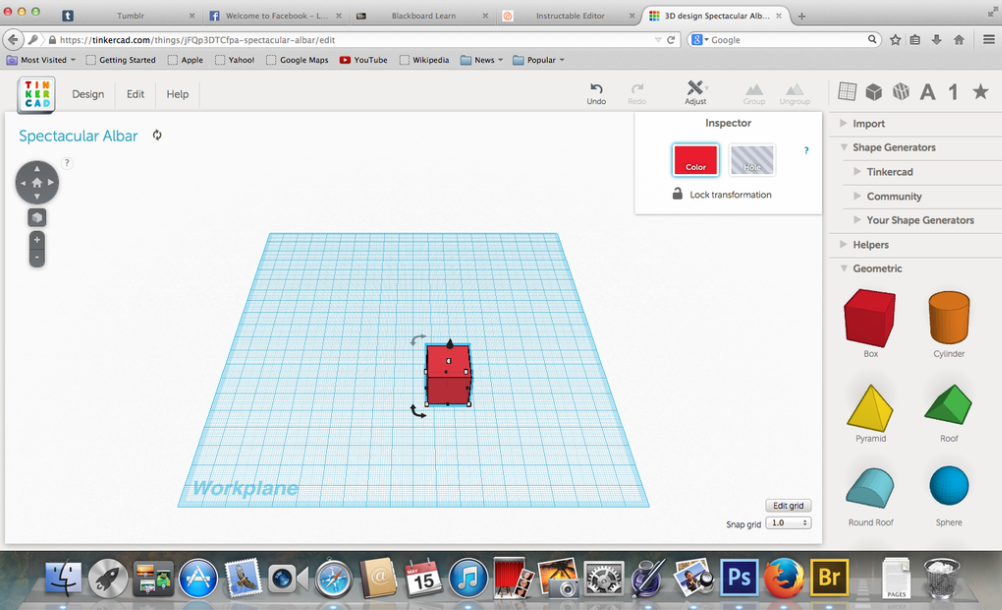 Now that we have figured out how to work with one shape, let's try adding another. Like we did earlier, simply click and drag your chosen shape onto the build plate. 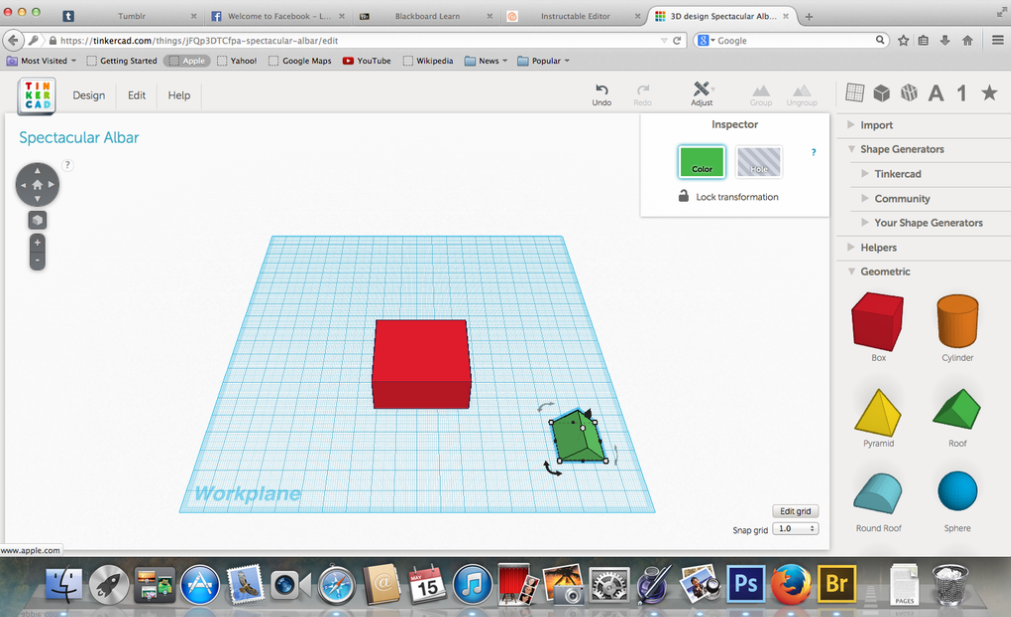 Step 5: Moving objects off of the build plate For my design, I would like to place the green roof on top of my red rectangle. Do this, simply click the arrow button that appears over the green roof. This will lift the shape off of the plate, and will allow you to move the shape on top of another shape. 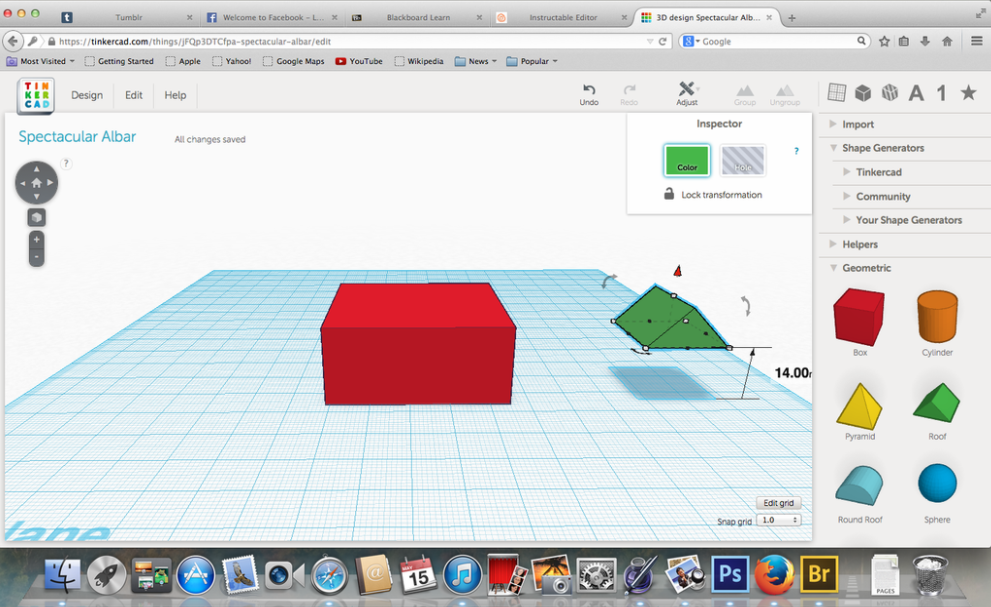  Step: 6 Finalize and print Once your model is complete, click “Export” and select .STL. Once you have that file, email it to [email protected] and we’ll get started on your print! We’ll send you an email once it’s ready and you can even pick up your 3D prints with your other holds! Prints under 20 grams are free! We look forward to seeing what you all design! 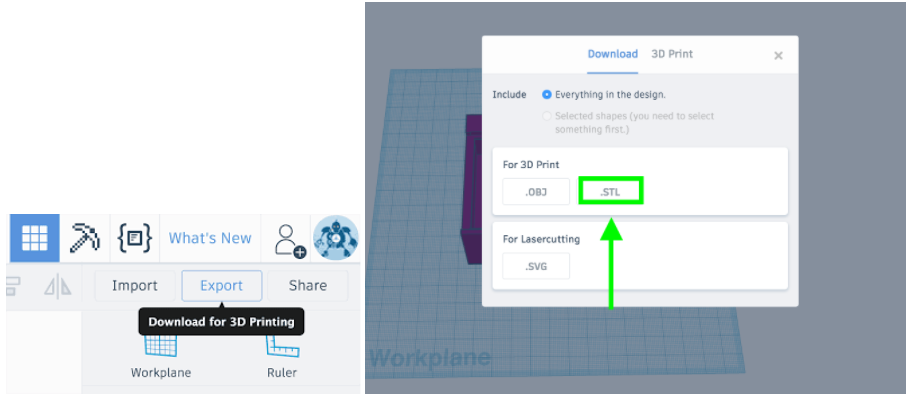 If you’re ready for more advanced tutorials, check out https://www.tinkercad.com/learn  by Becca, Main Library  Did you know that a lot of wrapping paper isn’t recyclable? Wrapping paper is often layered with plastic to give it that shiny look and feel. If your wrapping paper has glitter, foil, or sequins, it’s even worse! Next time you receive a gift, save your wrapping paper! We have an awesome, easy craft that you can do at home to save your wrapping paper and also send messages to your loved ones. Today we’re going to make DIY envelopes out of used wrapping paper! You can make upcycled envelopes out of anything - from newspapers, magazines, damaged books, old school assignments, and more! The first thing you will need to do is find an envelope that you like. You can make these upcycled envelopes in any shape and size as long as you have a template. I used this envelope pictured here because I love the shape of the fold in the back: 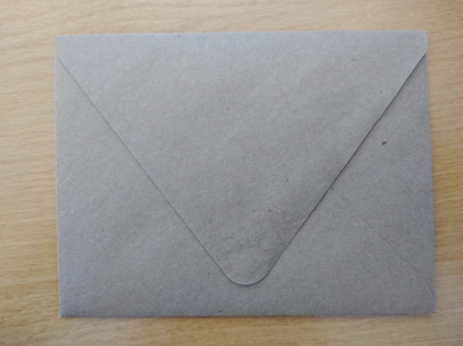 Next, carefully take the envelope apart. If the glue is really firm, you can soak your envelope in water for a few seconds, take it apart, and then let it dry. Now you have your envelope template! 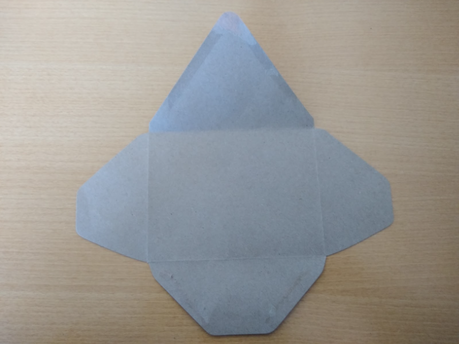 Use this template to trace the same shape onto the wrapping paper you are reusing. 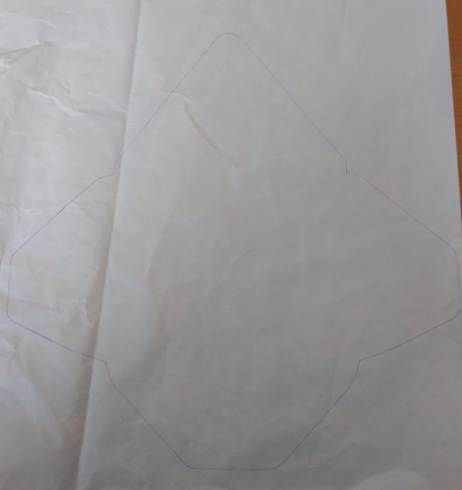 Cut out your envelope shape, make your folds, and use some glue to recreate the envelope. 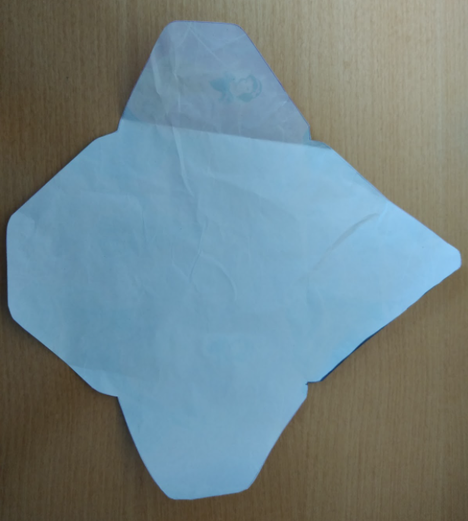 It’s that easy! Aren’t these envelopes great? 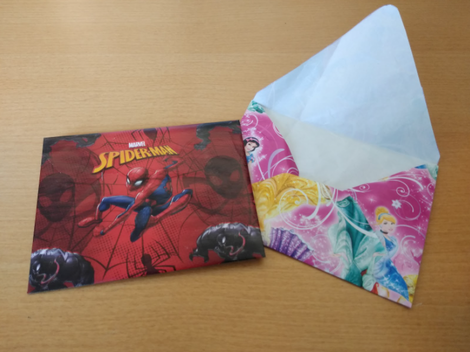 We hope you write some letters to your loved ones wrapped in these beautiful upcycled envelopes. Happy Earth Month! Keep reducing, reusing, upcycling, and recycling whenever you can! |