|
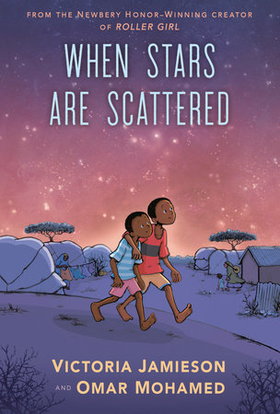
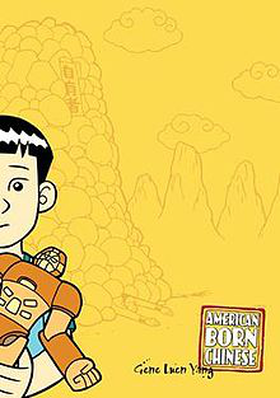
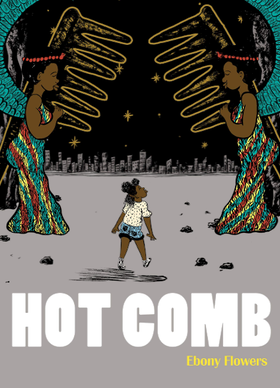
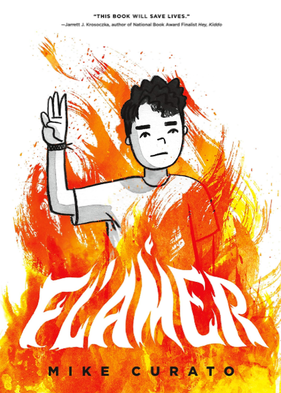
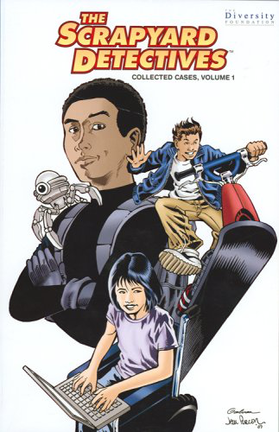
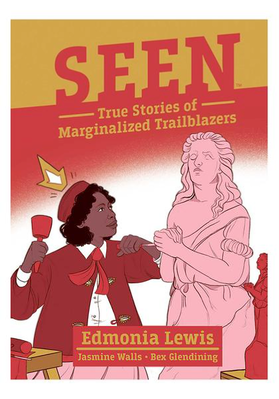
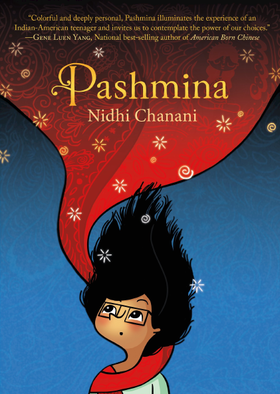
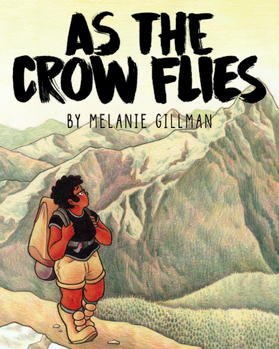
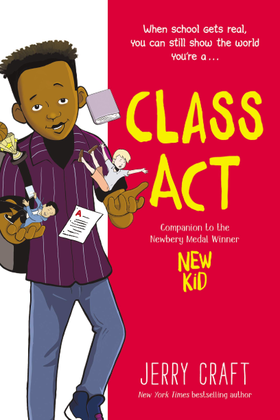
by Saia, Glendale Branch Growing up I did not see many characters in books or graphic novels that looked like me or had experiences like me. I never thought anything about why that was because it was normal to read the same narrative. The same narrative that I read was not representative of the world that I was a part of. My world contained many different faces, skin colors, abilities, sexualities, genders, styles, beliefs, religions, perspectives, classes, languages, and traditions. Due to what I was feeling and experiencing in my own life, I craved to see these things in the literature and media that I consumed. Now that I am older I strive to find books, movies, and graphic novels that give an honest representation of human stories and experiences. Representation matters because it centers the stories that are not heard or pushed to the wayside. When all voices and all stories do not get a chance to be heard and felt by other people it creates false assumptions and stereotypes. This in turn creates fear and divides us. This is why representation is so important. It is an act of re-centering humanity, ultimately leading to compassion and understanding. It is an act of empowerment by validating the experiences of those who are oppressed. For me personally, seeing characters who look like me and have similar experiences as me, helps me to remember that I am not alone in this world-that has made all the difference. I have created a list of graphic novels that center individuals and stories that represent people of differing abilities, color, queerness, religions, as well as refugee experiences. All titles center those who are Teens or Young Adults. There are only 10 titles that I could fit into this blog post and each of the summaries I have taken from the publisher. If you like the title given on this list, go ahead and click directly on it. This will take you to our catalog and you can check it out using your library card. The list given is in no way a total representation of how people see and identify themselves. I encourage you, the reader, to create your own list. What would you include? Remember, representation is important but take the time to ask yourself, Why does it matter to you?
0 Comments
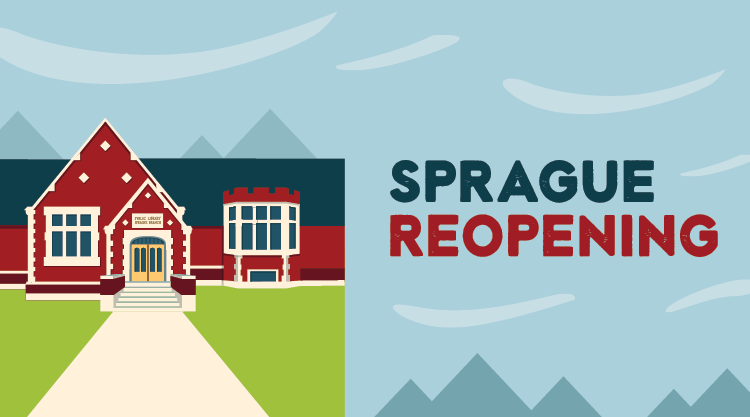
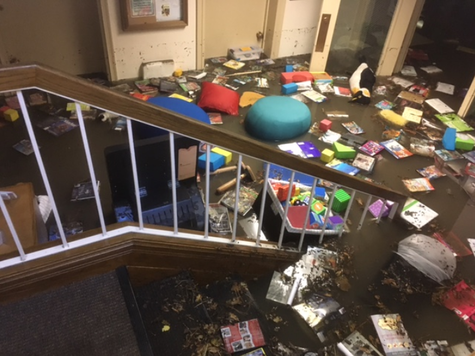
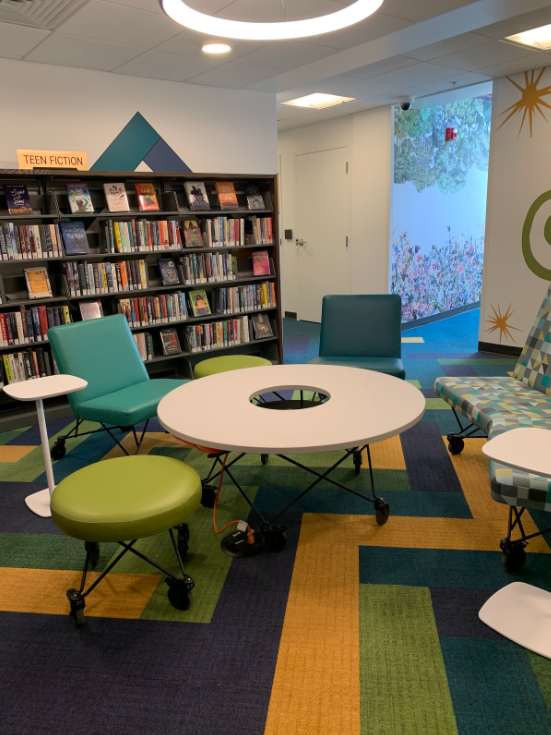
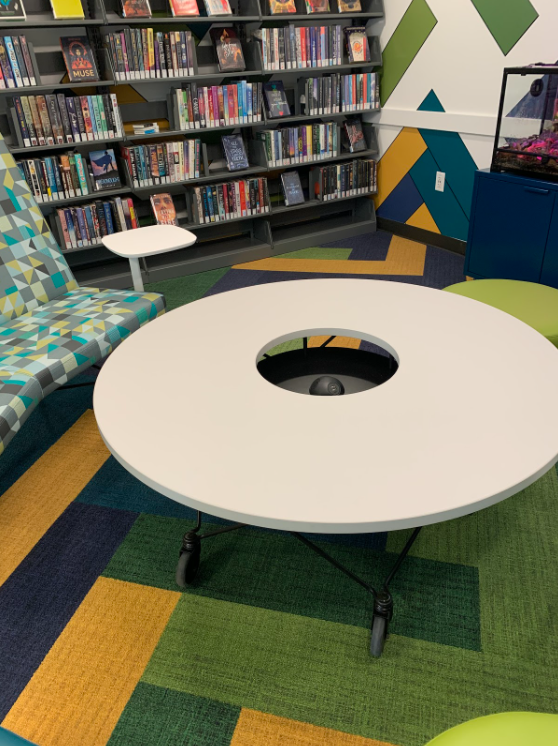
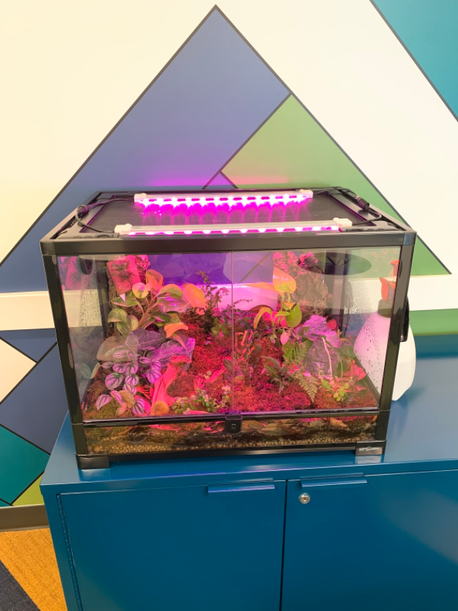
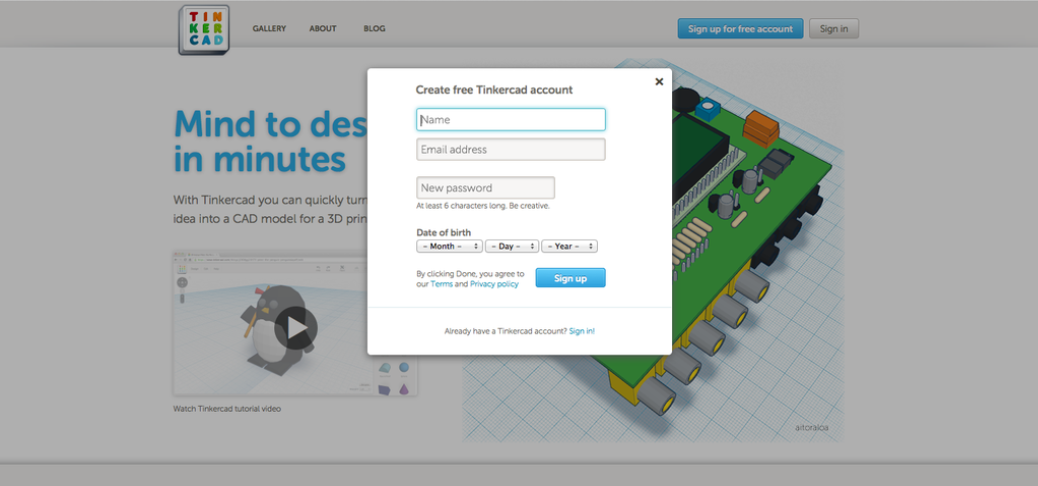
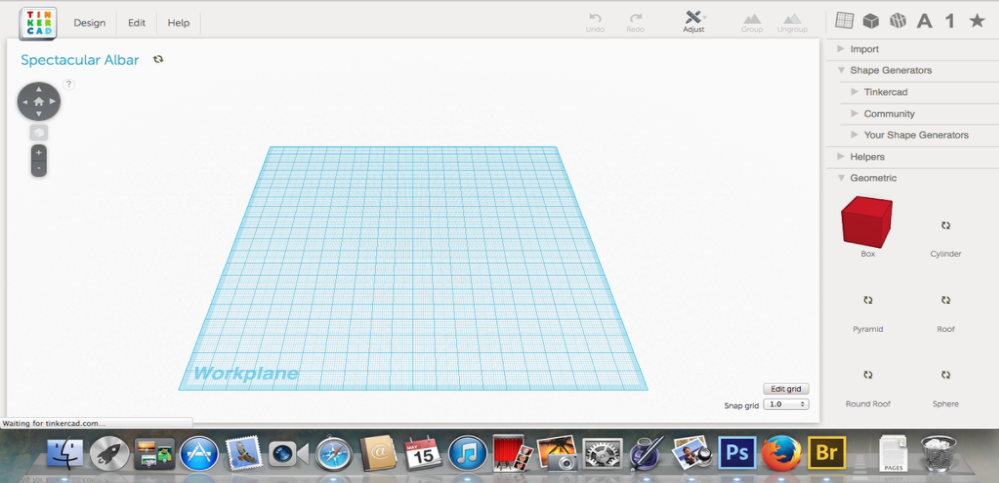
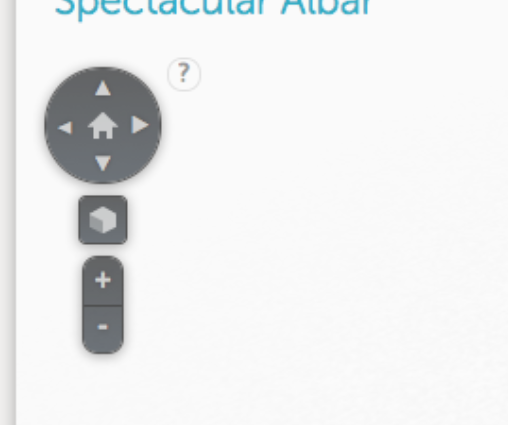
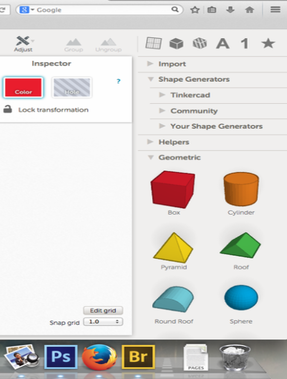
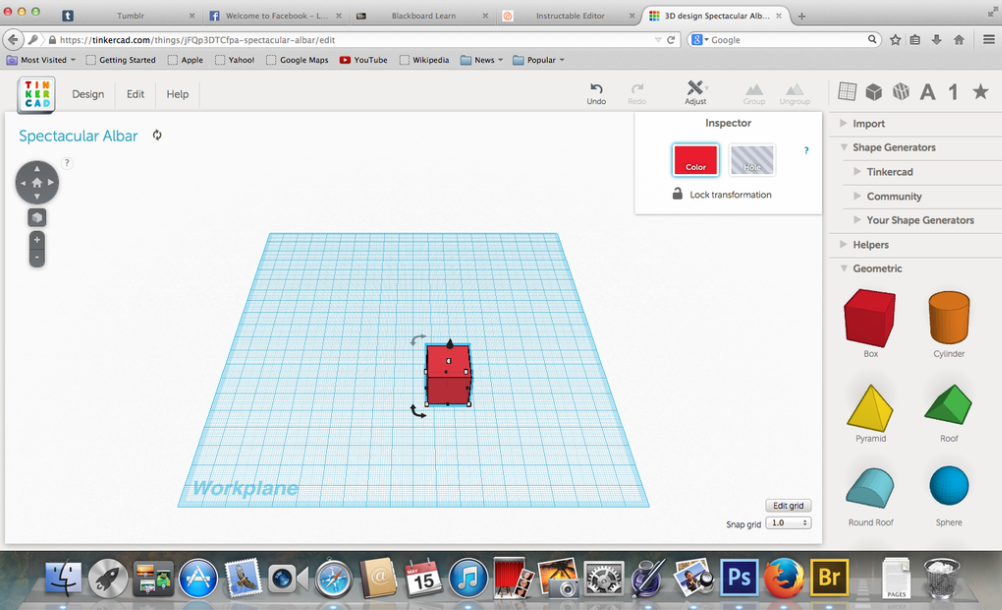
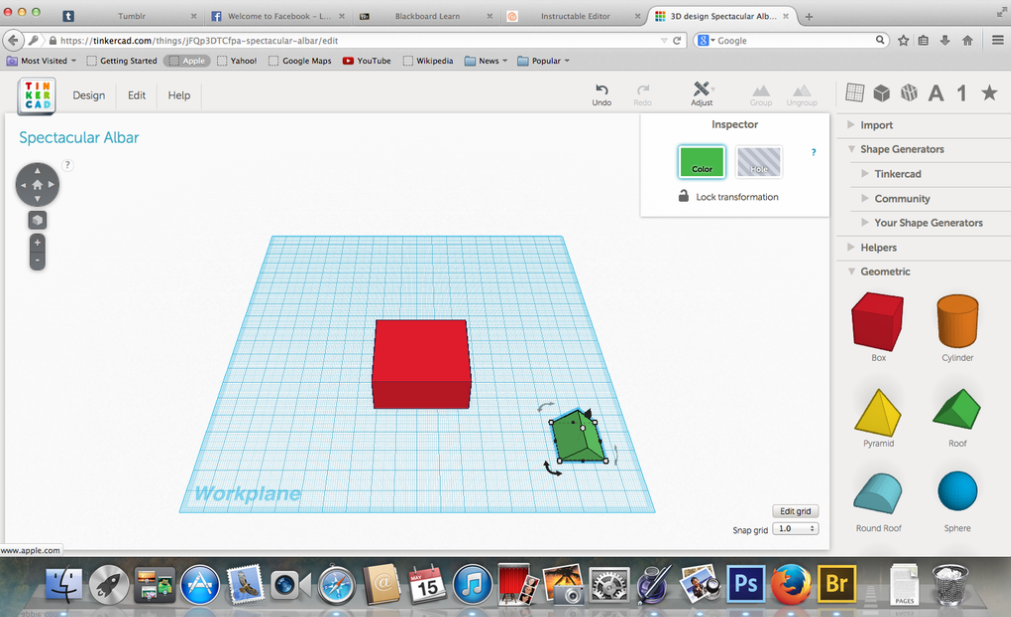
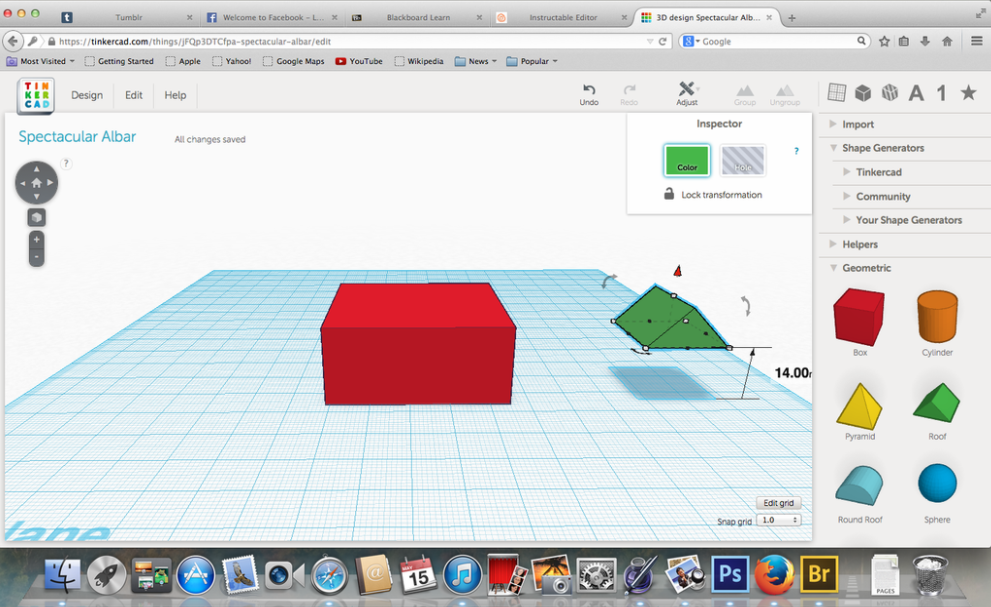
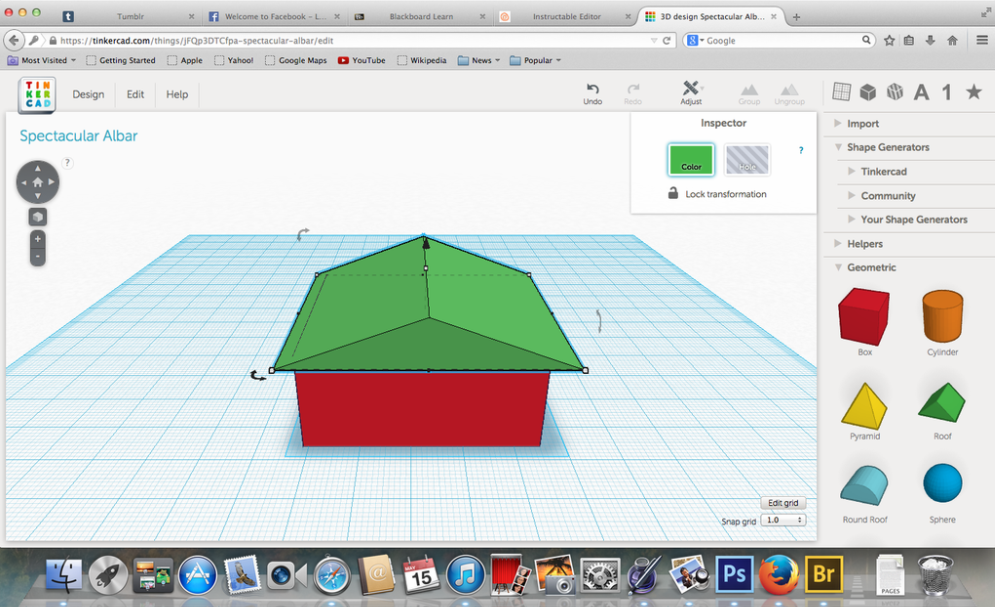
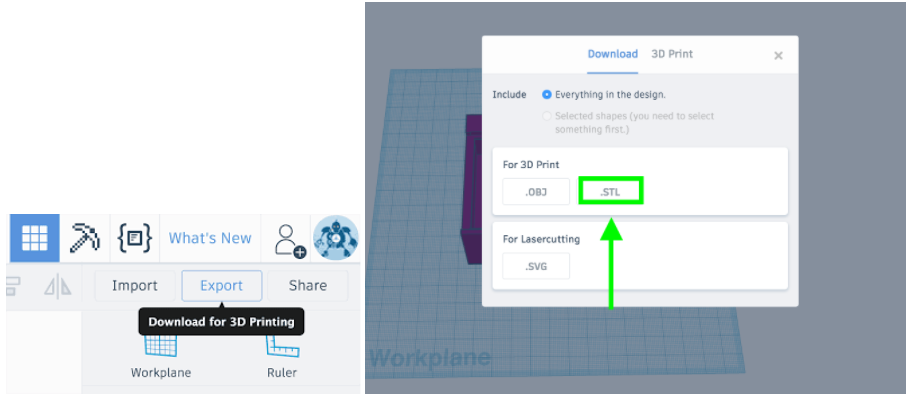
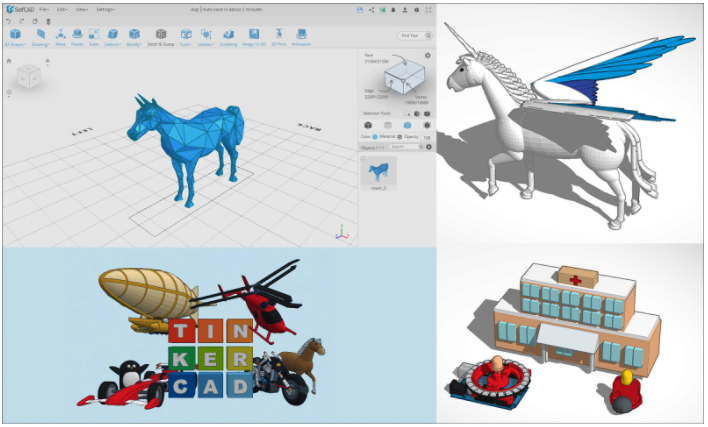
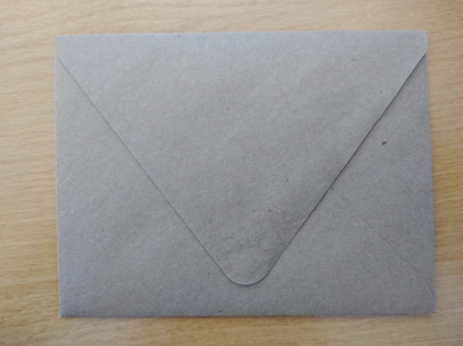
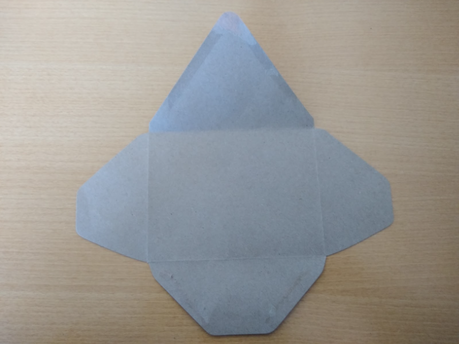
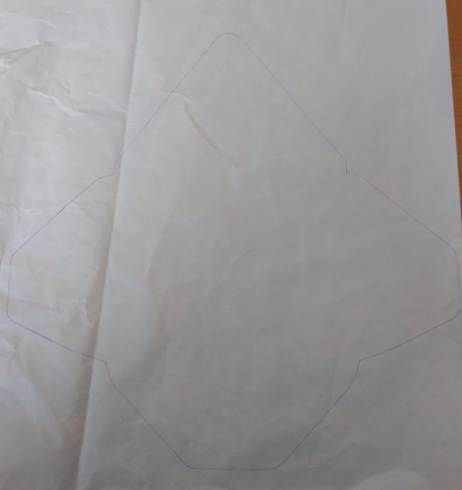
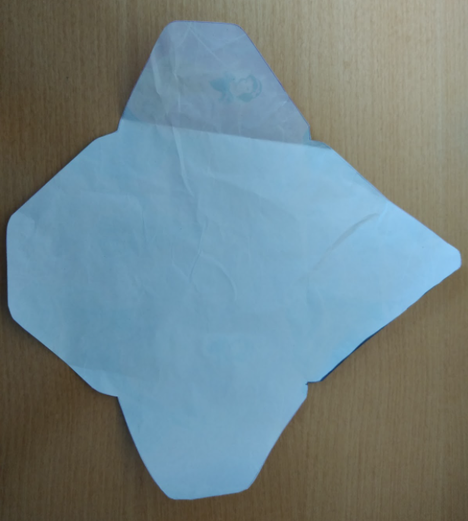
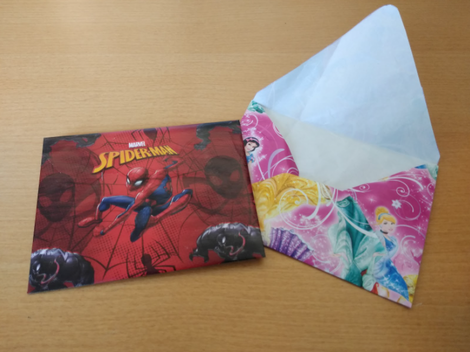
by Stephanie H, Sprague Branch In July of 2017, there was a massive rainstorm in Salt Lake City. Through a series of unfortunate events, the Sprague Branch located in Sugar House flooded during this storm. Librarians came to the branch only to discover five and a half feet of water in the downstairs part of the building. Librarians came to the branch only to discover five and a half feet of water in the downstairs part of the building. Over the next four years, Sprague has gone through the process of completely remodeling the entire building. I am happy to announce that May 3rd, Sprague will be open to the public again! This also means that there is a brand spanking new teen space! The space was designed to be a fun hangout spot teens can come to do homework, read, participate in programs or just hang out and relax. All of the furniture is on wheels and the table in the center has extra outlets and usb ports for all of your electronic needs. Other exciting features include a variety of board games, a zine making kit, and a bin full of homework tools and school supplies that are available for any teen to use! I am looking forward to all of the fun programs and events that will take place in this teen room in the years to come! If you have any suggestions for what you would like me to stock in the teen space, ideas for programs you would like to see, etc. please let me, Stephanie H. (the Teen Librarian at Sprague) know. See you soon! by Cody, Main Library The 3D printers are back up and running at the library. We just need your designs! Here I’ll show you how to design your own 3D models using Tinkercad and submit them to be printed at the library. Step 1: Create your account! Tinkercad is a simple, intuitive, and FREE website available to easily design models for 3D printing. The first thing you will want to do on Tinkercad is create a user account. This will allow you to save your designs within your personal account. You will need to provide some basic information, and be sure to choose a password that you can easily remember. Step 2: Explore your workspace This is your main design space. Here is where you will be creating the majority of your work on Tinkercad. The blue gridded area represents the build plate that is used by 3D printers. You will want to create your work on this plate. Step 3: Tools Tinkercad comes equipped with many tools to assist you in your modeling. On the right side you will find a collection of basic shapes and components, in addition to, free models and generators. At the top left of your screen, you should find this set of arrows. The arrows allow you to change your view of the plate. You can view your workspace from a variety of different angles by simply clicking the arrows. Step 4: Create a shape First, let's start by picking one of the basic shapes from the geometric drop-down menu. Simply click and drag your chosen shape to the build plate, and Tinkercad will automatically set the shape to sit atop the plate. To increase or decrease the size of your shape, simply click and drag the corner markings (small white squares) on the image. Now that we have figured out how to work with one shape, let's try adding another. Like we did earlier, simply click and drag your chosen shape onto the build plate. Step 5: Moving objects off of the build plate For my design, I would like to place the green roof on top of my red rectangle. Do this, simply click the arrow button that appears over the green roof. This will lift the shape off of the plate, and will allow you to move the shape on top of another shape. Step: 6 Finalize and print Once your model is complete, click “Export” and select .STL. Once you have that file, email it to [email protected] and we’ll get started on your print! We’ll send you an email once it’s ready and you can even pick up your 3D prints with your other holds! Prints under 20 grams are free! We look forward to seeing what you all design! If you’re ready for more advanced tutorials, check out https://www.tinkercad.com/learn by Becca, Main Library Did you know that a lot of wrapping paper isn’t recyclable? Wrapping paper is often layered with plastic to give it that shiny look and feel. If your wrapping paper has glitter, foil, or sequins, it’s even worse! Next time you receive a gift, save your wrapping paper! We have an awesome, easy craft that you can do at home to save your wrapping paper and also send messages to your loved ones. Today we’re going to make DIY envelopes out of used wrapping paper! You can make upcycled envelopes out of anything - from newspapers, magazines, damaged books, old school assignments, and more! The first thing you will need to do is find an envelope that you like. You can make these upcycled envelopes in any shape and size as long as you have a template. I used this envelope pictured here because I love the shape of the fold in the back: Next, carefully take the envelope apart. If the glue is really firm, you can soak your envelope in water for a few seconds, take it apart, and then let it dry. Now you have your envelope template! Use this template to trace the same shape onto the wrapping paper you are reusing. Cut out your envelope shape, make your folds, and use some glue to recreate the envelope. It’s that easy! Aren’t these envelopes great? We hope you write some letters to your loved ones wrapped in these beautiful upcycled envelopes. Happy Earth Month! Keep reducing, reusing, upcycling, and recycling whenever you can! |
AuthorsBlog posts are written by our Teen Librarians and, in some cases, teens like you. Visit your About page to learn more about our Teen Librarians. Archives
August 2023
Categories
All
|
