|
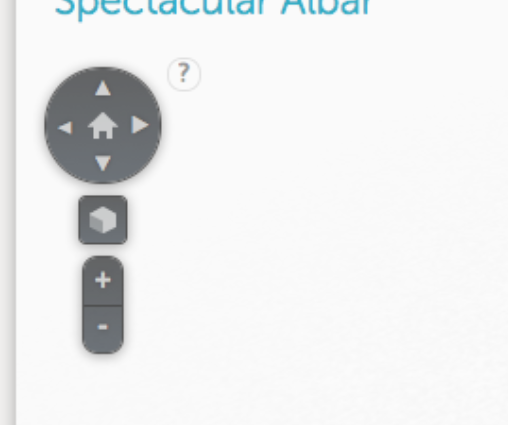
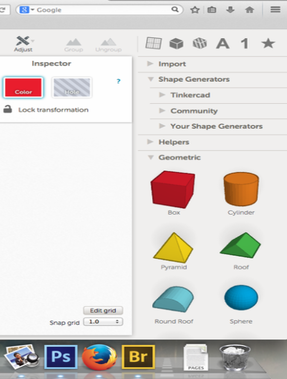
by Cody, Main Library  The 3D printers are back up and running at the library. We just need your designs! Here I’ll show you how to design your own 3D models using Tinkercad and submit them to be printed at the library. Step 1: Create your account! Tinkercad is a simple, intuitive, and FREE website available to easily design models for 3D printing. The first thing you will want to do on Tinkercad is create a user account. This will allow you to save your designs within your personal account. You will need to provide some basic information, and be sure to choose a password that you can easily remember. 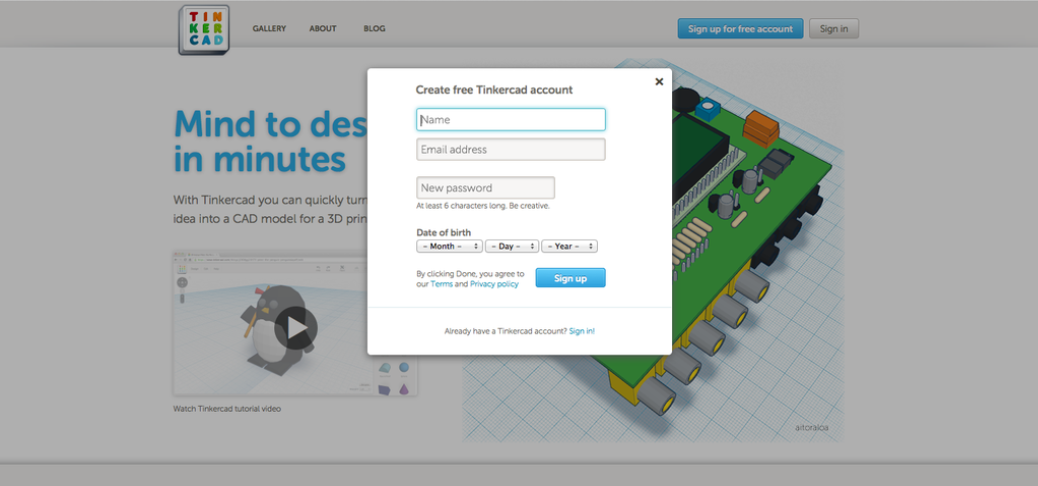 Step 2: Explore your workspace This is your main design space. Here is where you will be creating the majority of your work on Tinkercad. The blue gridded area represents the build plate that is used by 3D printers. You will want to create your work on this plate. 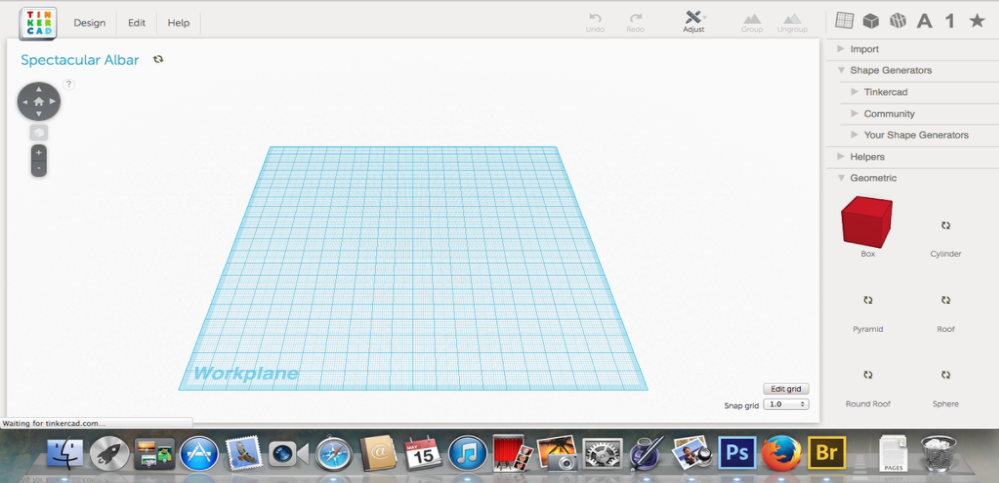 Step 3: Tools Tinkercad comes equipped with many tools to assist you in your modeling. On the right side you will find a collection of basic shapes and components, in addition to, free models and generators. At the top left of your screen, you should find this set of arrows. The arrows allow you to change your view of the plate. You can view your workspace from a variety of different angles by simply clicking the arrows.
Step 4: Create a shape First, let's start by picking one of the basic shapes from the geometric drop-down menu. Simply click and drag your chosen shape to the build plate, and Tinkercad will automatically set the shape to sit atop the plate. To increase or decrease the size of your shape, simply click and drag the corner markings (small white squares) on the image. 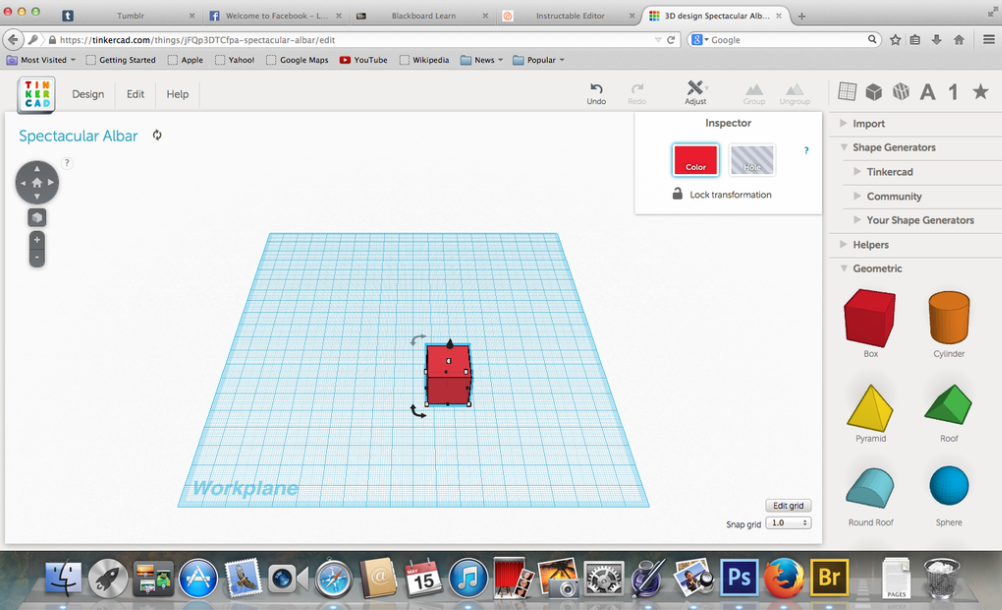 Now that we have figured out how to work with one shape, let's try adding another. Like we did earlier, simply click and drag your chosen shape onto the build plate. 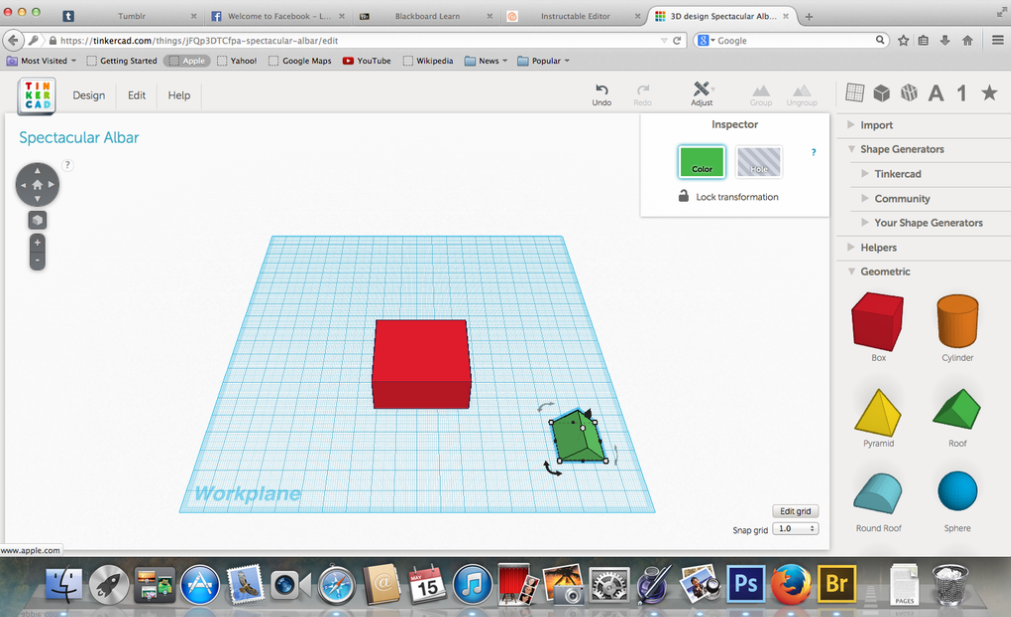 Step 5: Moving objects off of the build plate For my design, I would like to place the green roof on top of my red rectangle. Do this, simply click the arrow button that appears over the green roof. This will lift the shape off of the plate, and will allow you to move the shape on top of another shape. 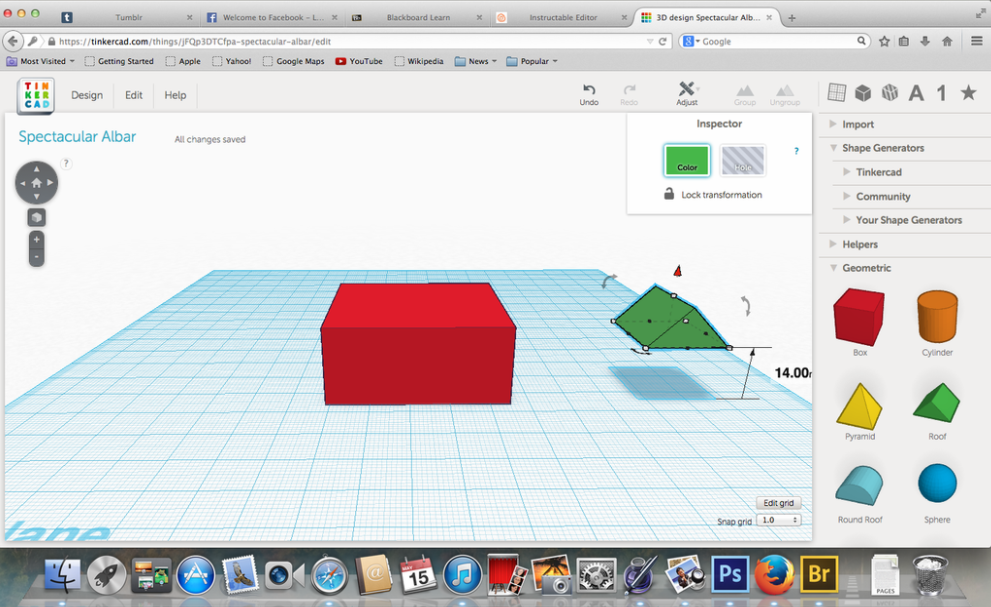  Step: 6 Finalize and print Once your model is complete, click “Export” and select .STL. Once you have that file, email it to [email protected] and we’ll get started on your print! We’ll send you an email once it’s ready and you can even pick up your 3D prints with your other holds! Prints under 20 grams are free! We look forward to seeing what you all design! 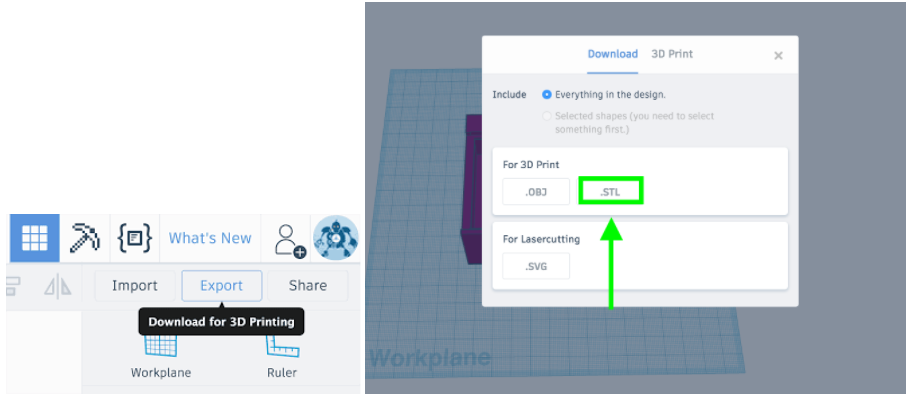 If you’re ready for more advanced tutorials, check out https://www.tinkercad.com/learn 
0 Comments
Your comment will be posted after it is approved.
Leave a Reply. |